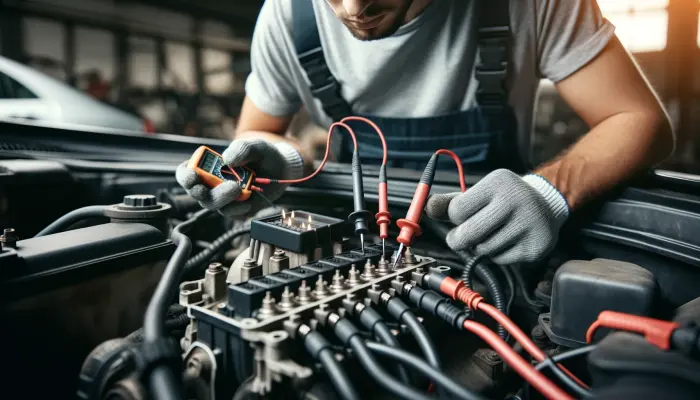
Before you start checking the ignition coil, you need to do some preparatory work. First, disconnect the wires from the coil and ensure the connectors are clean and undamaged. Second, clean the coil body itself from dirt and oil to make your work more comfortable. Now you can move on to the actual check.
Visual Inspection of the Ignition Coil
Start with a visual inspection of the coil's body. It should be intact, without any cracks, chips, or signs of burning. Examine the body from all sides under good lighting to spot any defects.
Next, check the condition of the outer protective layer of the winding - it should not have any damage like cuts, scratches, or dents.
Also, pay attention to the color of the winding - it may change slightly over time, which is not critical. However, significant darkening or charring indicates the coil has overheated.
Carefully inspect the rubber gasket of the distributor cap as well. It should not have any cracks, cuts, or traces of oils and fuel. The gasket should be elastic, not dry and brittle.
If any defects in the body or gasket are found, the coil should be replaced.
Checking the Resistance of the Ignition Coil Windings
To check the windings of the ignition coil, you will need a multimeter. Measure the resistance of the primary and secondary windings separately. Connectors or terminals for connecting the device are usually labeled or color-coded.
When checking the primary winding, apply a 12 V voltage to the multimeter terminals and measure the current. Knowing the voltage and current, you can calculate the resistance using Ohm's law.
For the secondary winding, measure the resistance between the high voltage terminal and the body. Compare the obtained values with the data from the car's operating manual.
A significant deviation of the measured parameters from the nominal indicates a fault in the coil - there might be a break, a short circuit, or a change in the inductance of the windings. In such a case, the coil should be replaced.
Checking the Spark Formation of the Ignition Coil
The final step is to check spark formation using an engine simulator or directly on the running engine if the configuration allows.
Connect the high-voltage wire to the coil and position its output a short distance from the receiving nut. Start the cycle simulator and check for spark formation - the glow of discharges between the high-voltage wire and the nut indicates the ignition coil is functional.
If there is no spark, the voltage may be incorrectly applied when using the simulator. Or, a break in the secondary winding of the coil may prevent spark formation – then the ignition coil should be replaced.
Thus, checking a car's ignition coil involves a visual inspection, measuring the resistance of the windings, and checking spark formation. If any faults are found at any stage, the coil must be replaced for reliable and uninterrupted operation of the ignition system.
