
For safe and comfortable driving, maintaining the correct wheel geometry is crucial. Adjusting wheel alignment is a key procedure that helps achieve optimal angles and ensures the perfect vehicle trajectory. In this article, we'll uncover all the nuances of this operation.
When is it Time for Adjustment?

Timely adjustment of wheel alignment is key to the longevity of tires, economical fuel consumption, and road safety. But how to determine it's time to tackle this issue? Pay attention to the following signs:
- Increased or uneven tire wear
- Deterioration in handling and vehicle stability
- Jerkiness while driving straight
- Increased fuel consumption
- Steering wheel vibration at high speeds
If you notice at least one of the listed symptoms, don't delay the adjustment. Timely diagnosis and correction of wheel alignment angles can prevent costly future repairs. Remember, in turnkey home construction, paying attention to every detail is also crucial.
Typical Vehicle Models and Their Specifics in Wheel Alignment Adjustment
Wheel alignment adjustment can vary significantly depending on the vehicle model. It's important to know that some vehicles have unique features requiring a special approach:
- Compact and Midsize Cars (e.g., Toyota Corolla, Volkswagen Golf, Ford Focus): These vehicles typically have standard alignment settings and often do not require complex adjustments. However, it's important to consider the specifics of the suspension design (e.g., independent or semi-independent rear suspension), which can influence the adjustment process.
- Sports Cars (e.g., BMW M3, Porsche 911, Nissan GT-R): These cars often have more complex suspension settings, requiring more precise adjustments. Sports models often feature camber adjustments intended for optimizing handling at high speeds and in turns.
- SUVs and Pickups (e.g., Ford F-150, Toyota Land Cruiser, Jeep Wrangler): Given their high clearance and heavy build, wheel alignment in these vehicles often focuses on ensuring stability and preventing premature tire wear. SUVs may also require individual adjustments to optimize off-road characteristics.
- Luxury Sedans (e.g., Mercedes-Benz S-Class, Audi A8, Lexus LS): These vehicles often use complex multi-link suspensions, requiring more precise and cautious adjustments to maintain comfort and handling.
For accurate wheel alignment adjustment on any vehicle model, it is recommended to consult specialized services or rely on the manufacturer's recommendations in the operating manual. Regular checks and adjustments of wheel angles help maintain tire condition, fuel economy, and ensure road safety.
Preparing for the Procedure

Before starting the wheel alignment adjustment, it's necessary to prepare all the required equipment and tools. For professional execution of the task, you'll need:
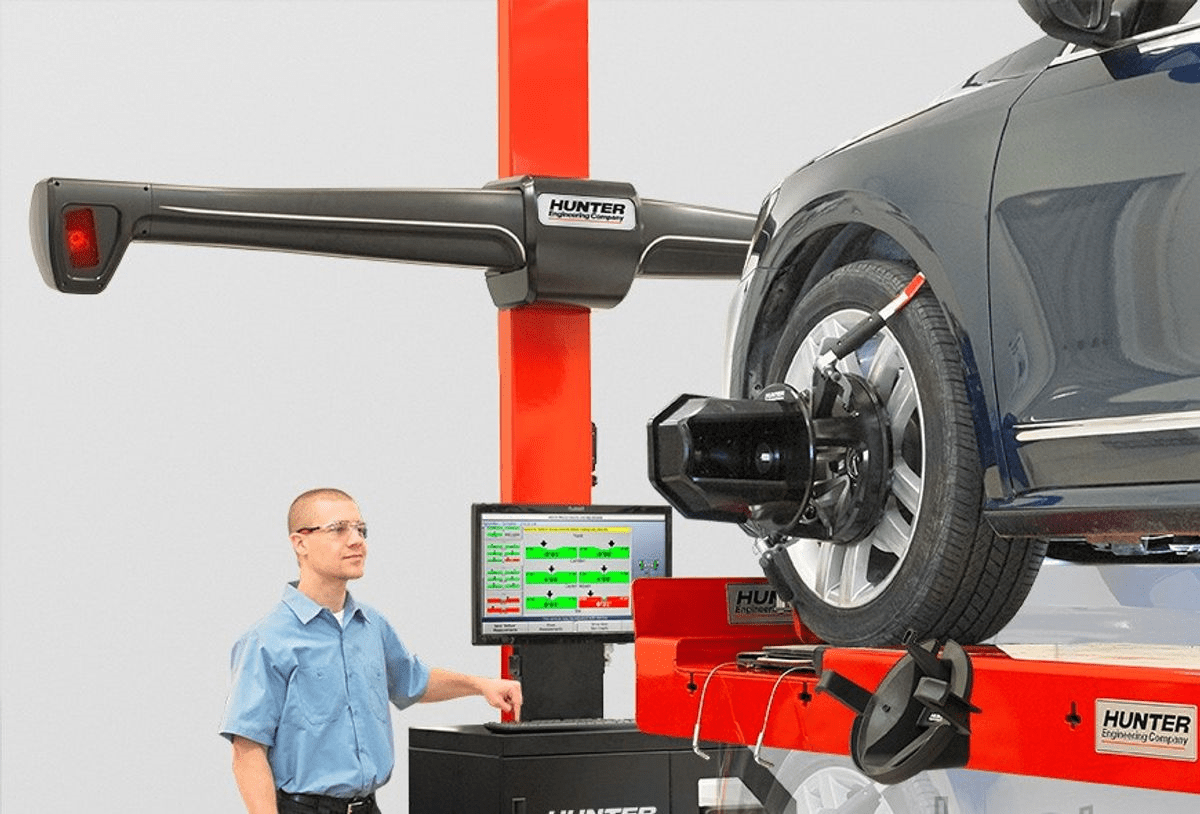
- A special stand for adjusting wheel angles
- An angle meter or a computerized angle measuring system
- A set of wrenches and tools for adjustment tasks
Once the equipment is ready, position the vehicle on the stand strictly following the manufacturer's instructions. Also, don't forget to check and adjust the tire pressure according to the car manufacturer's recommendations.
Step-by-Step Adjustment Instructions
- Measuring Current Angles. Using an angle meter or a computerized system, measure the current camber and toe angles of all the vehicle's wheels. Compare the results with the specifications recommended by the vehicle manufacturer.
- Adjusting the Camber. If camber values differ from standard indicators, make the necessary corrections. Use appropriate components and parts of the vehicle's suspension, such as control arms or steering knuckles. Follow instructions specific to your vehicle model.
- Adjusting the Toe. After successfully setting the correct camber angles, it's time to adjust the wheel toe. Use adjusting sleeves on the tie rod arms for this purpose. Set the toe in accordance with the values recommended by the car manufacturer.
- Final Check. Upon completing the adjustment, perform a repeat measurement of the camber and toe angles. Ensure that the results fall within the permissible range according to the vehicle specifications. Remember, it's also crucial to meticulously check the quality of completed works in turnkey home construction.
- Test Drive. For a final quality check of the adjustment, take a short test drive to evaluate the vehicle's handling, stability, and smoothness of ride in dynamic conditions. If the results are unsatisfactory, repeat the wheel alignment adjustment procedure.
Common Mistakes and Questions
Despite its apparent simplicity, the process of adjusting wheel angles has several pitfalls. Familiarize yourself with the most common mistakes and questions:
- Error #1: Using inappropriate or low-quality equipment and tools. Always use certified professional equipment from reliable manufacturers.
- Error #2: Inattention when measuring current camber and toe angles. Even minor inaccuracies in measurements can lead to incorrect angle adjustment.
- Question: How often should wheel alignment be performed?
Answer: Car manufacturers' recommendations vary, but on average, this procedure should be carried out every 15-20 thousand km of mileage or when replacing tires/suspension components. - Question: Can I save money by performing wheel alignment myself?
Answer: For experienced car enthusiasts with a good understanding of vehicle mechanics, this procedure is feasible at home. However, for beginners or in case of doubt, it's better to seek help from professionals.