
The timing belt or chain is a vital component of an internal combustion engine. Its main task is to synchronize the opening and closing of the valves relative to the movement of the pistons, ensuring the correct working cycle of the engine.
Over time, these parts wear out due to high loads and temperatures. A rupture or excessive wear of the timing belt/chain can lead to fatal consequences - from engine failure to costly repairs due to bent valves and damaged pistons. Therefore, timely replacement of these components is critical for reliable engine operation.
Signs of Wear on the Timing Belt/Chain
Identifying the first signs of wear on the timing belt or chain can help prevent serious breakdowns. Some obvious symptoms include:
- Visual signs of wear - cracks, splitting, deformation, breaks on the belt; loosening or excessive play of the chain.
- Noises and vibrations from the timing system - humming, clanking, or other foreign sounds from this area when the engine is running.
- Loss of compression and starting problems - a result of valve desynchronization due to belt/chain wear.
Additionally, when a certain mileage recommended by the manufacturer is reached, replacing the timing belt or chain becomes a mandatory preventative measure. Ignoring the replacement deadlines can lead to sudden failure of these parts.
Timely detection of wear signs and adherence to the maintenance schedule can help avoid costly repairs in the future. Let's take a closer look at the process of replacing the timing belt and chain.
Preparation for Replacement
Before starting the work, it's necessary to prepare:
- Selecting the appropriate belt/chain and components. Strictly follow the manufacturer's recommendations for your car model and year of manufacture. Replacement of tensioners, idlers, and other timing drive parts may also be required.
- Tools and equipment. To remove and install the belt/chain, you'll need a set of wrenches, socket heads, pullers, camshaft lock tools, and special devices according to the repair manual. A wooden block for setting the timing marks will also come in handy.
- Safety techniques. Working with the timing belt or chain requires caution and attention. Avoid dropping tools and other objects inside the engine, and maintain cleanliness and neatness.
Thorough preparation for replacing the timing belt/chain is the key to successful and safe work. Now, let's move on to the replacement process itself.
Procedure for Replacing the Timing Belt (Step-by-Step Instruction)
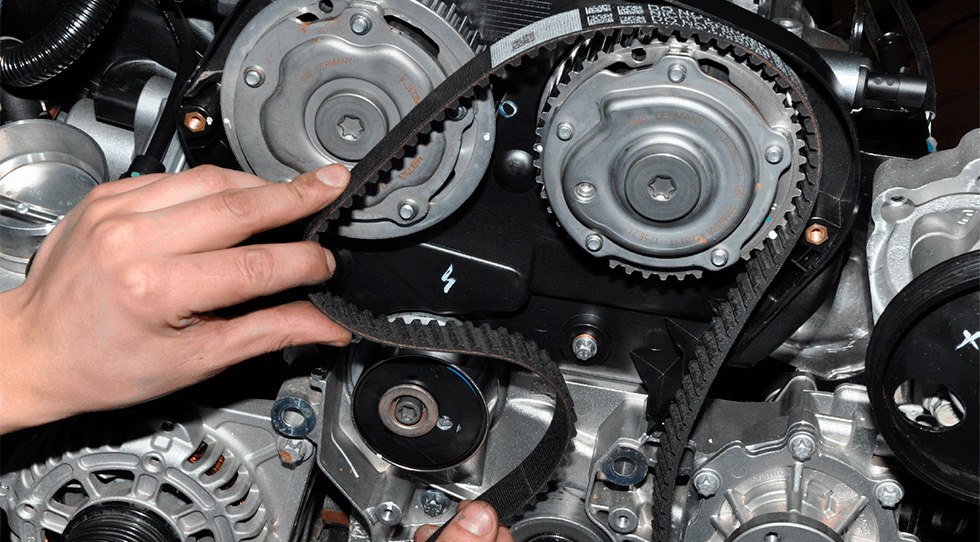
- Removing decorative panels and protective covers. To access the timing belt, remove all interfering parts, including the upper part of the seat belt, belt cover, etc.
- Dismantling auxiliary components. Remove rollers, tensioners, crankshaft pulley, and other components that obstruct the removal of the old belt.
- Installing the new belt. Install the new timing belt in strict sequence according to the instructions. It's important to align the marks on the shafts and the cylinder block. Use a wooden block to set the cam timing.
- Adjusting the tension. The tension of the new belt should be set according to the manufacturer's specifications, usually with an automatic or manual tensioner.
- Reassembly. All removed parts are reinstalled in reverse order, and the proper operation of all components is checked.
Replacing the timing chain is a more labor-intensive process, but it's done following a similar principle, with special precautions.
Procedure for Replacing the Timing Chain (Step-by-Step Instruction)
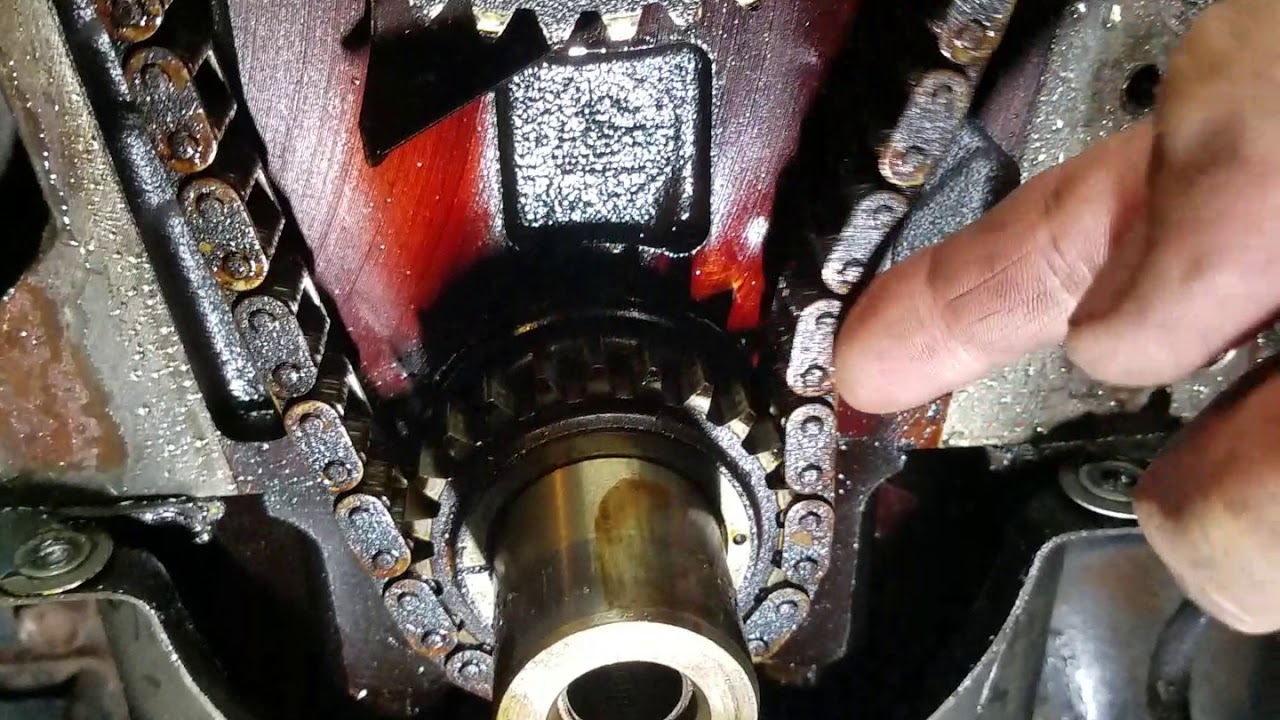
- Removing auxiliary units and covers. Dismantle all components that hinder access to the timing chain, including the oil pump, chain tensioners, etc.
- Dismantling the old chain. Carefully remove the old chain, ensuring not to confuse the order of the links.
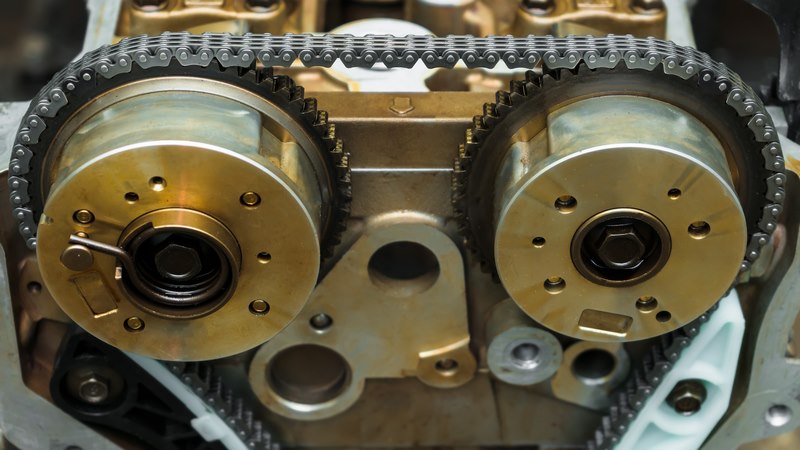
- Installing the new chain. Install the new chain in strict sequence, aligning the marks on the camshafts, crankshaft, and cylinder block.
- Adjusting the tensioners. Create the required chain tension using hydraulic or mechanical tensioners.
- Reassembly. All removed components are reinstalled in reverse order, and the engine is refilled with oil and other working fluids.
Working with the timing chain requires special care to avoid disrupting the order of links and damaging parts. Follow the manufacturer's instructions carefully.
Inspection and Completion of Work
After replacing the timing belt or chain, it's important to ensure the entire system is working correctly:
- Starting the engine and checking its operation. Start the engine and let it run for a while at idle. Make sure there are no extraneous noises, knocks, or vibrations.
- Rectifying any issues. If any deviations are noticed - knocks, noises, loss of compression, etc., check the installation of all parts, the alignment of the marks, and the correctness of the adjustments. Partial disassembly may be required to rectify the issue.
- Running-in after replacement. It's necessary to run in the new timing belt or chain - for the first 500-1000 km, avoid high loads and engine speeds. This allows the new parts to wear in.
- Periodic checks. Over the first few thousand kilometers, periodically check the tension of the belt/chain and the condition of the timing drive for play, noises, etc.
Meticulous inspection and adherence to the running-in regime after replacing the timing belt or chain ensure the reliable and long-lasting operation of these vital engine components.
Common Mistakes and Their Prevention
Even experienced mechanics sometimes make mistakes when replacing the timing belt or chain. Here are some common errors and how to avoid them:
- Incorrect installation or non-compliance with marks. This can lead to desynchronization of the camshafts and engine breakdown. Carefully follow the instructions and align the marks.
- Damage to parts. Be careful not to damage the shafts, bearings, cylinder block with tools or foreign objects.
- Incorrect order of assembly. Violating the sequence of part installation can lead to misalignments and premature wear. Stick to the instructions.
- Using substandard parts. Saving on the timing belt/chain or other components can result in reduced service life. Purchase original parts.
- Insufficient tension of the belt/chain. This will cause flutter, vibrations, and premature wear. Follow the specifications of the manufacturer.
Attention to detail, following instructions, and using quality parts will help avoid common mistakes and their associated problems.
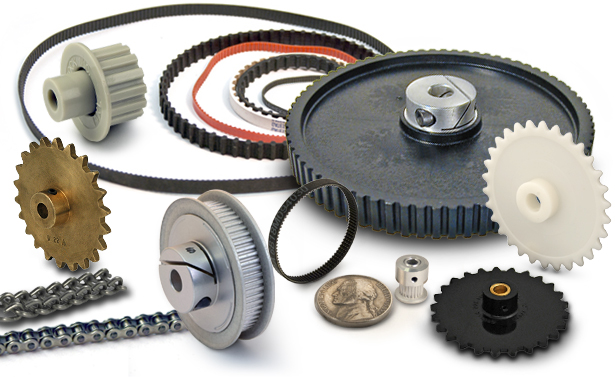
Comparison of Timing Belt and Chain
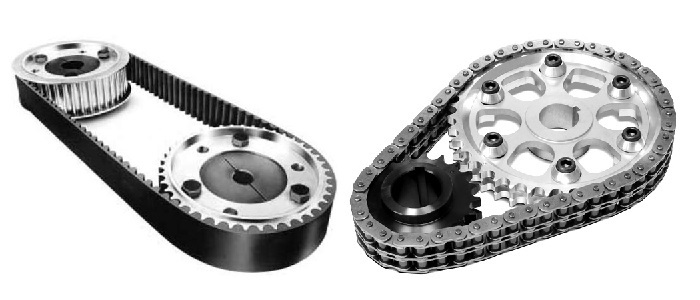
Both the timing belt and chain have their pros and cons:
Timing Belt:
- Cheaper in manufacturing and replacement
- Quieter operation
- Lighter weight
- Subject to natural wear and cracking
- Limited resource, requires regular replacement
Timing Chain:
- More durable and wear-resistant
- Possibility of tension adjustment
- More expensive in manufacturing and replacement
- Noisier in operation
- Requires constant lubrication
Modern automakers are increasingly favoring the chain-driven timing system for its reliability and repairability. However, belt-driven systems are still common, especially in budget models, due to lower costs.
The final choice depends on the design of the specific engine and the owner's preferences.
Cost of Replacement Information
The cost of replacing the timing belt/chain can vary significantly depending on the brand and model of the car, the parts used, and whether you choose DIY or professional service.
Approximate prices for parts:
- Timing Belt: $20-100
- Timing Chain: $50-300
- Kit of tensioners and rollers: $50-200
If you do the replacement yourself, the expenses will only be the cost of consumables. In case of service station work, the price of parts is supplemented by labor costs, usually ranging from $100-400 depending on the complexity of the repair.
Tips for reducing costs:
- Use original used parts for replacement - this can save 30-50%.
- Negotiate discounts at service stations. Many services offer good discounts on work.
- If you have the skills, do it yourself. This can save up to 75% of the service station labor costs.
Conclusion: The Importance of Preventive Maintenance
Timely replacement of the timing belt or chain is key to stable engine operation and preventing serious breakdowns. Ignoring the maintenance schedule can lead to fatal consequences up to complete engine failure.
Replacing the timing belt or chain at the first signs of wear, as well as upon reaching the recommended mileage, is a sensible preventative measure. Although the procedure requires certain skills, effort, and time, the cost of timely replacement is incomparably lower than major engine repairs.
Trust only experienced mechanics for replacing the timing belt/chain, using quality components and manufacturer recommendations. Saving once on this operation, you risk paying much more in the future. Take care of your car - and it will serve you reliably for many years!
Frequently Asked Questions FAQ
Q: Can I skip changing the timing chain if it still looks "okay"?
A: Changing the timing chain is a preventive measure. Even if it looks fine visually, the chain can suddenly stretch and break after a certain mileage. Ignoring the replacement is fraught with costly repairs.
Q: Can I use a non-original timing belt?
A: It's better to avoid this. Using non-original parts, especially the timing belt, can lead to poor system performance and premature failure. The original belt is worth the money spent.
Q: How to choose a quality timing chain?
A: Look at the brand's reputation and reviews. Well-known manufacturers - INA, BNT, Morse chains, and original chains for your car model from the component manufacturer, typically guarantee quality.
Q: What to do if the mark is misaligned during installation?
A: Stop immediately and check the order of actions according to the instructions. Partial disassembly may be required for proper installation of the belt/chain and timing marks. Ignoring this issue is not permissible.